A fully customized cake smash theme can be incredibly meaningful, especially for such an important milestone in your baby’s life. A first birthday cake smash is not only a ritual for your baby, it’s also a celebration for you as parents.
Being involved in the theme design adds emotional value to this memory. Instead of choosing a setup from a template, you’re creating something that reflects your baby’s world. Below are the steps I use to fully customize a cake smash session.
Step 1: Finding Inspiration for Your Cake Smash Theme
Most parents who request a fully customized cake smash session already have some inspiration in mind. Whether it’s a cartoon character, a storybook your baby listens to every night, or a toy that holds special meaning, anything can become inspiration.
I once had a parent ask me to use Black Forest cake as inspiration. At first, it may sound unlikely, but at this stage, nothing is too strange or unrealistic. Don’t worry if it doesn’t feel like a “cake smash theme” yet. We’ll figure that out in the next steps.
If you don’t have a specific idea in mind, you can start by thinking about:
- Your baby’s everyday comforts, such as a pillow, blanket, or bath towel
- What you instinctively grab when your baby gets fussy and needs calming
- The toy your baby holds or reaches for the most
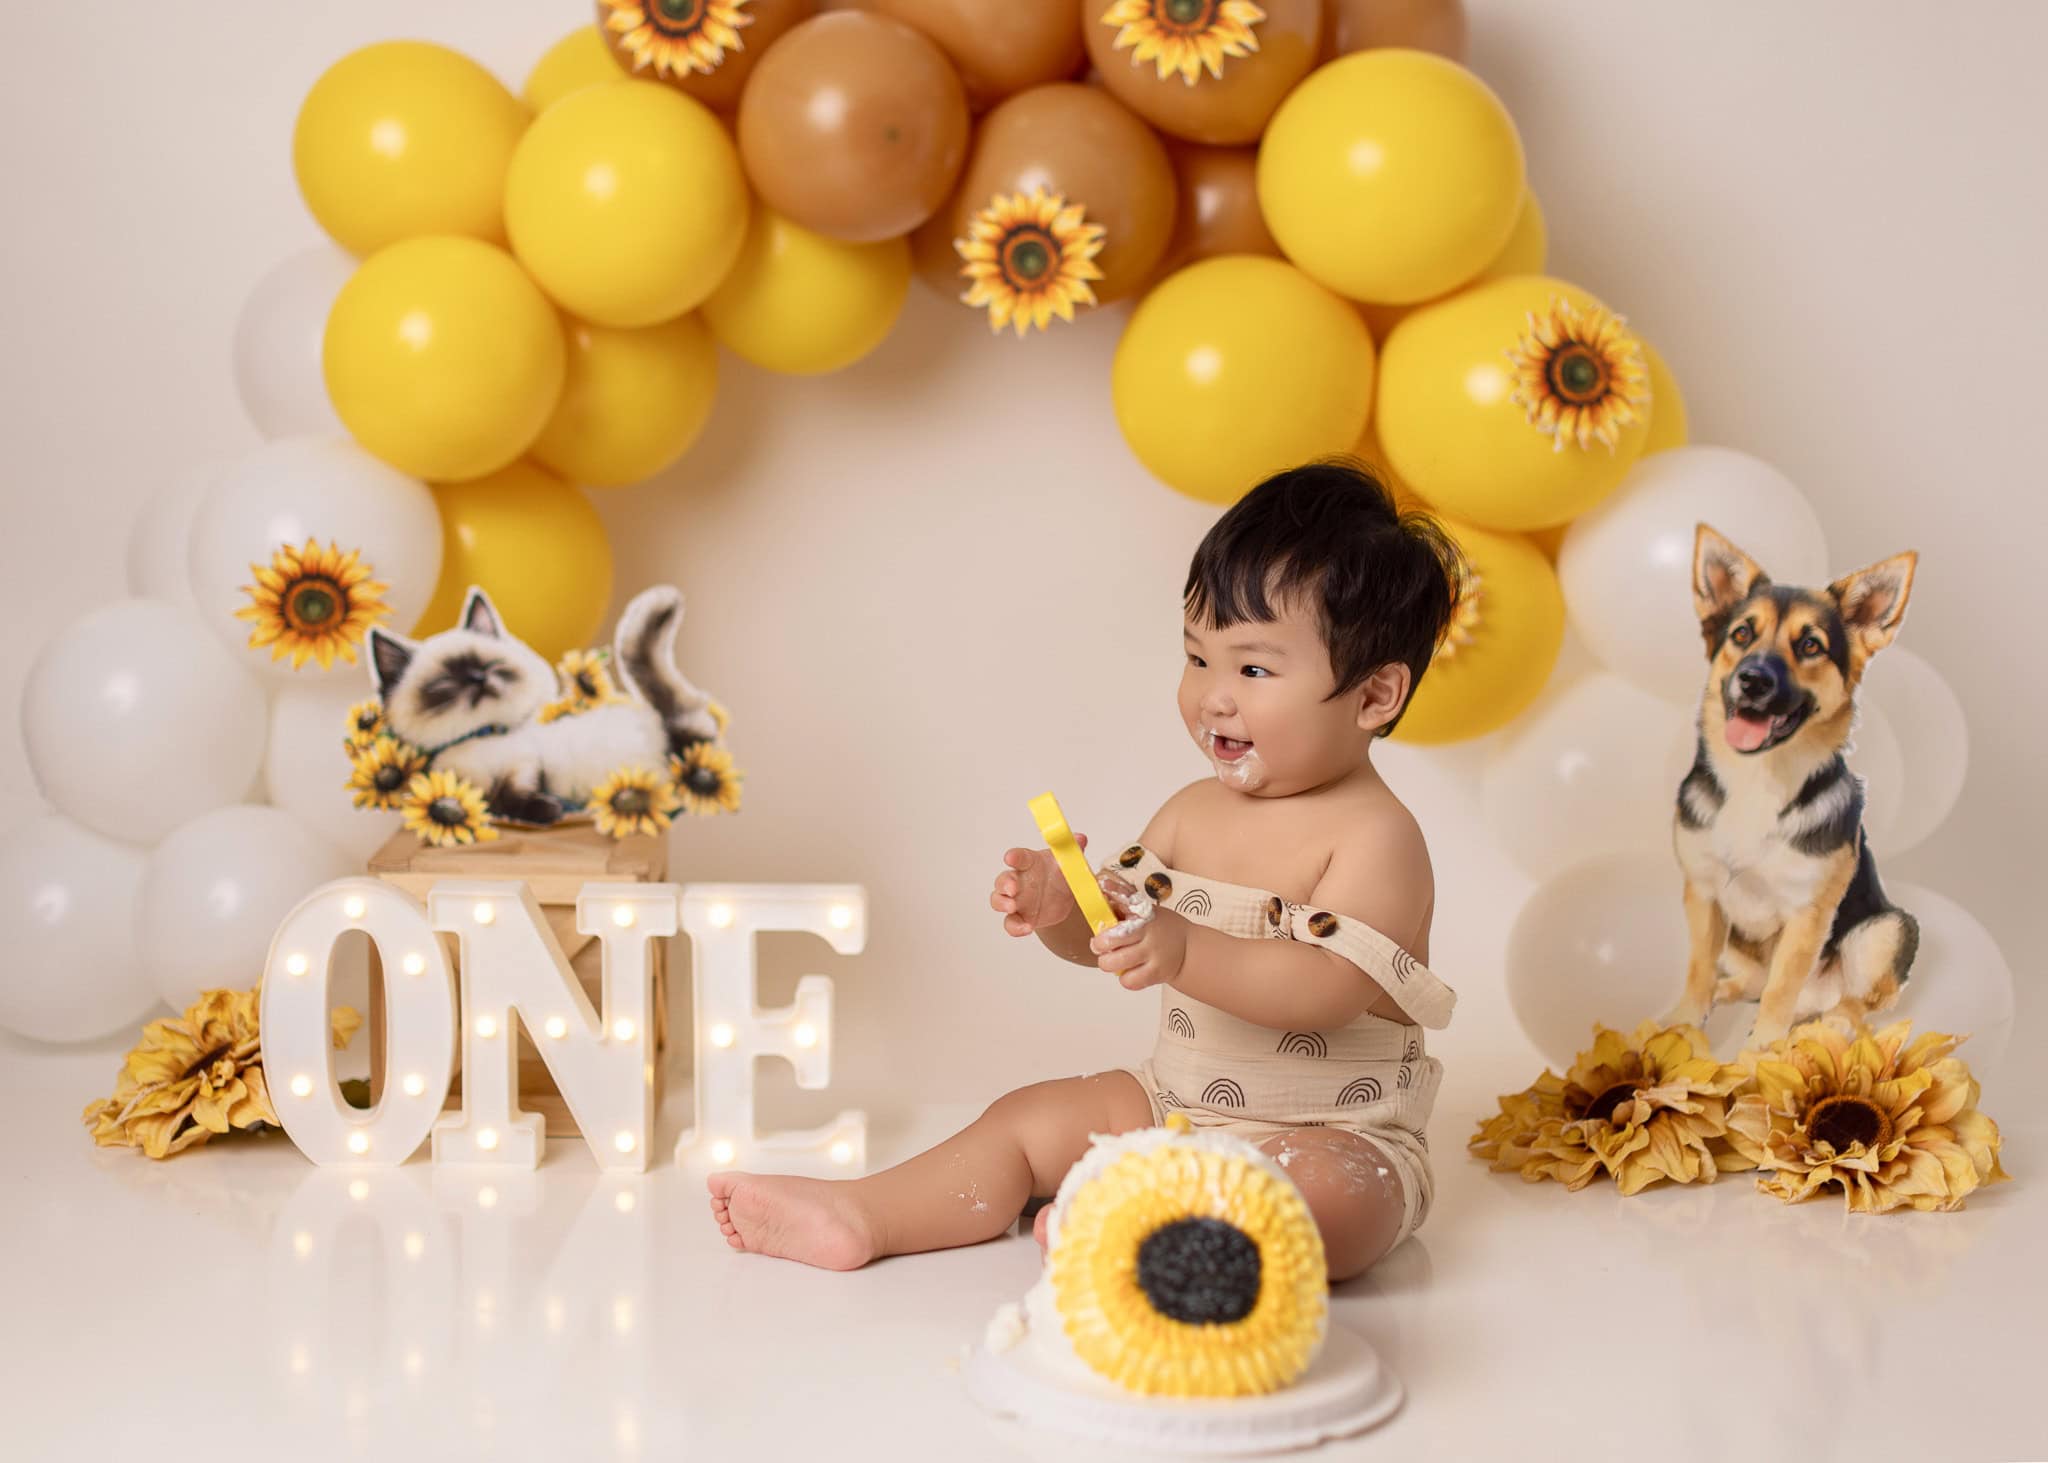
- Your family pet, especially if your baby interacts with them often
- The meaning behind your baby’s name
These objects may feel ordinary now, but imagine looking back at them five years from today. That blanket may no longer be used, or the toy may be long gone, but your child will know: “This was part of my world when I was little.”
When I was around five years old, my mom kept all of my shoes from when I was a baby. I took them out almost every day and tried to put my feet back into those tiny shoes, simply because it felt magical to realize I was once that small. This is the kind of emotional value these details can carry over time.
Step 2: Turning Inspiration into a Cake Smash Theme
This step is usually guided by me.
As a cake smash photographer, my role is to translate your inspiration into a visual story. I typically schedule a conversation with parents to understand why they chose a certain idea, what it means to them, and how their baby interacts with it.
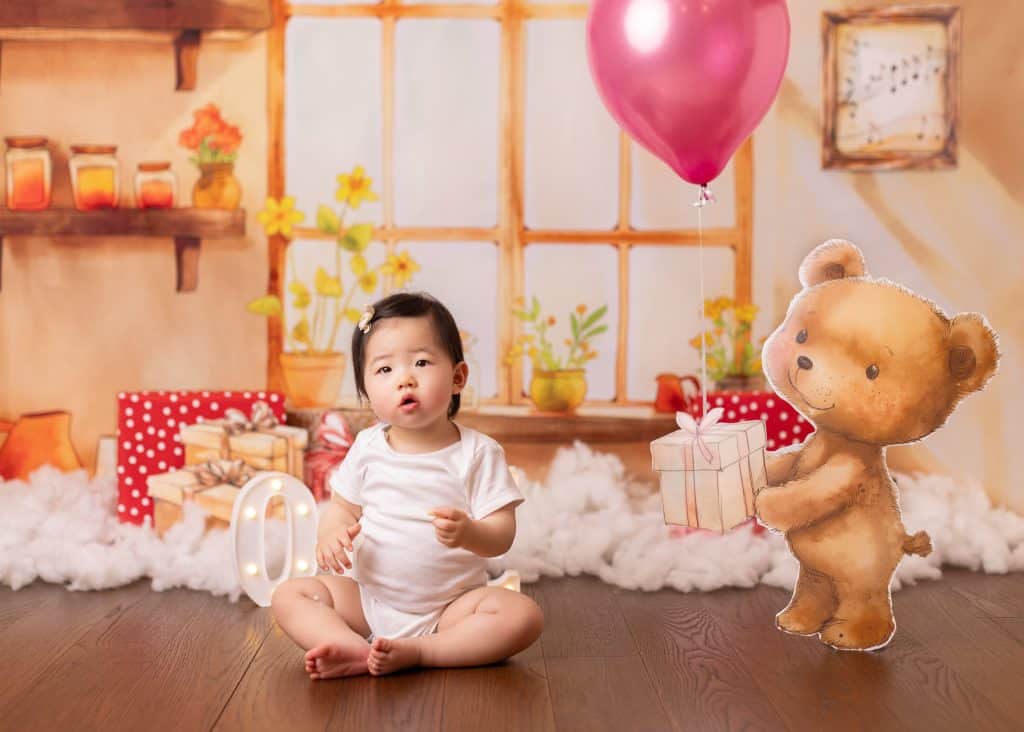
Using the Black Forest cake example, I asked the parents why they chose it. They showed me a Pinterest interior design photo featuring a warm wooden-toned space with a single cake placed inside. They explained that they loved the wood colours and the contrast of cherries on the cake.
From there, I designed a whimsical, cartoon-style kitchen backdrop and used my wooden studio floor as the base. The final concept became a “birthday gift party in the kitchen” theme.
There’s no right or wrong answer in this step. My personal style is whimsical and story-driven. I like turning ideas into small narratives, much like the hand-drawn illustrations you see in children’s storybooks.
Step 3: Refining the Details
Once the theme is established, we focus on details such as colour and decorative elements.
At this stage, we choose a main colour and build the setup around it. Just like I mentioned in my previous blog about creating a simple cake smash setup, having one primary colour helps keep the design cohesive.
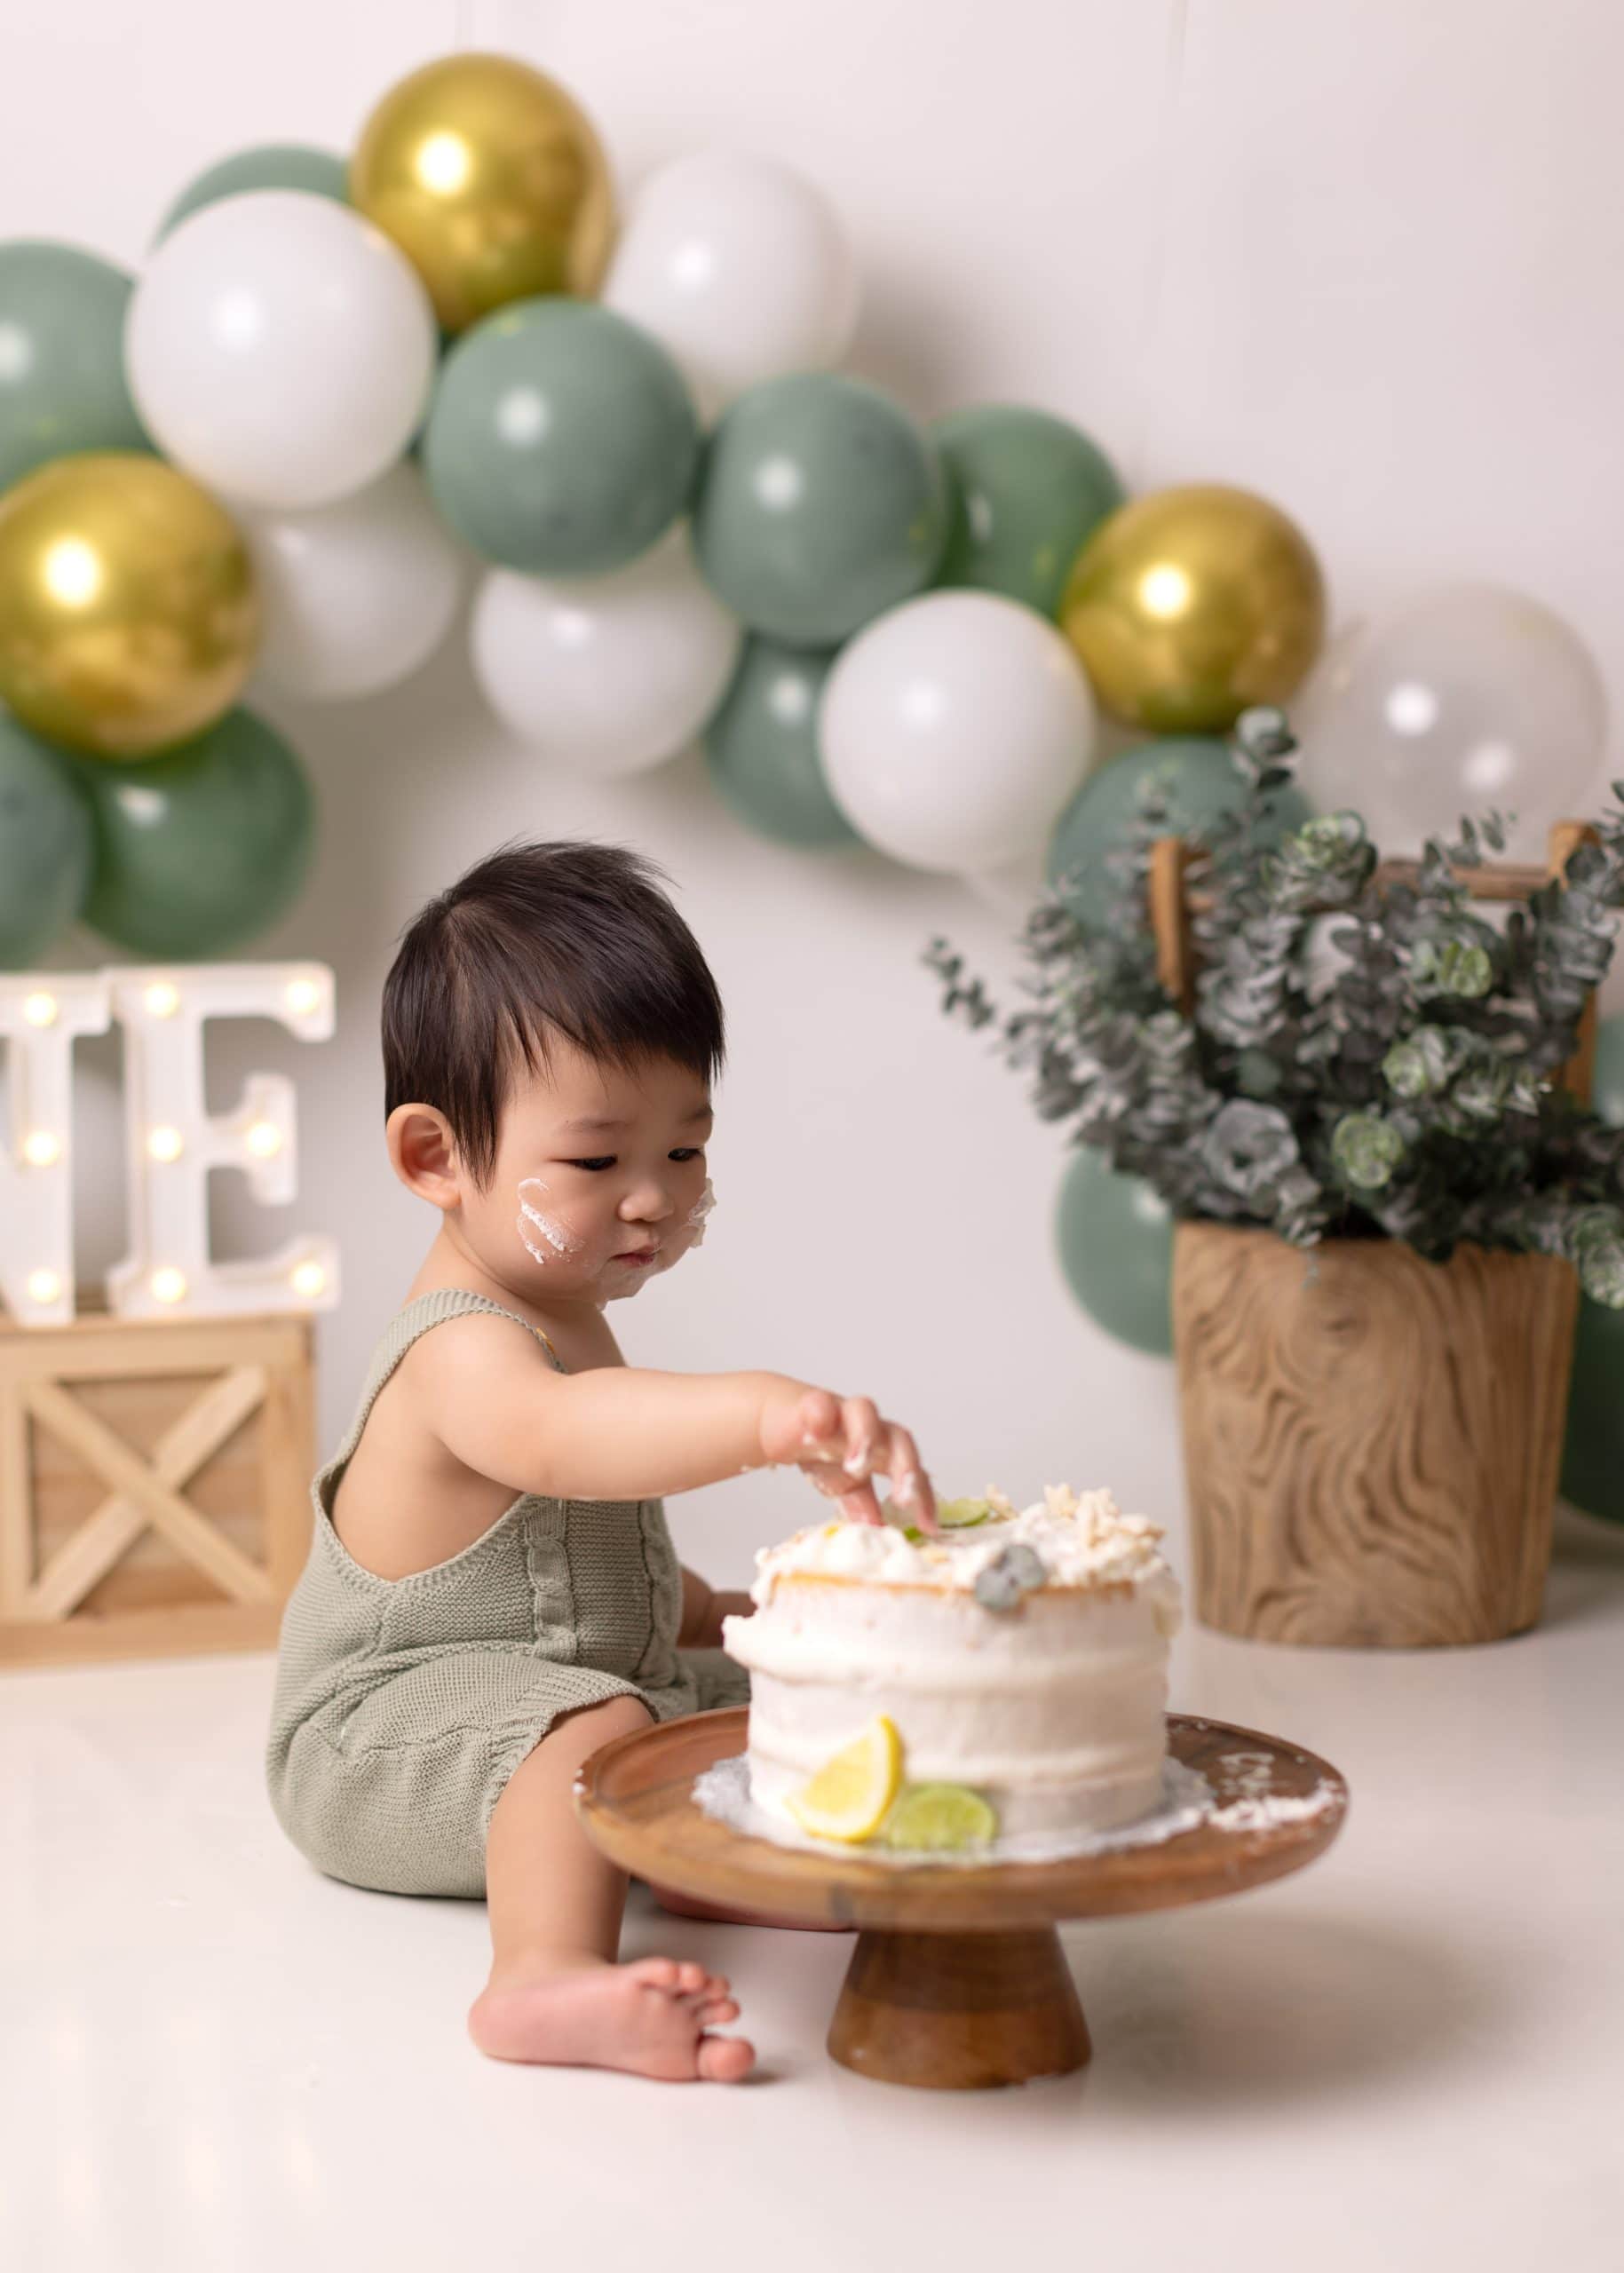
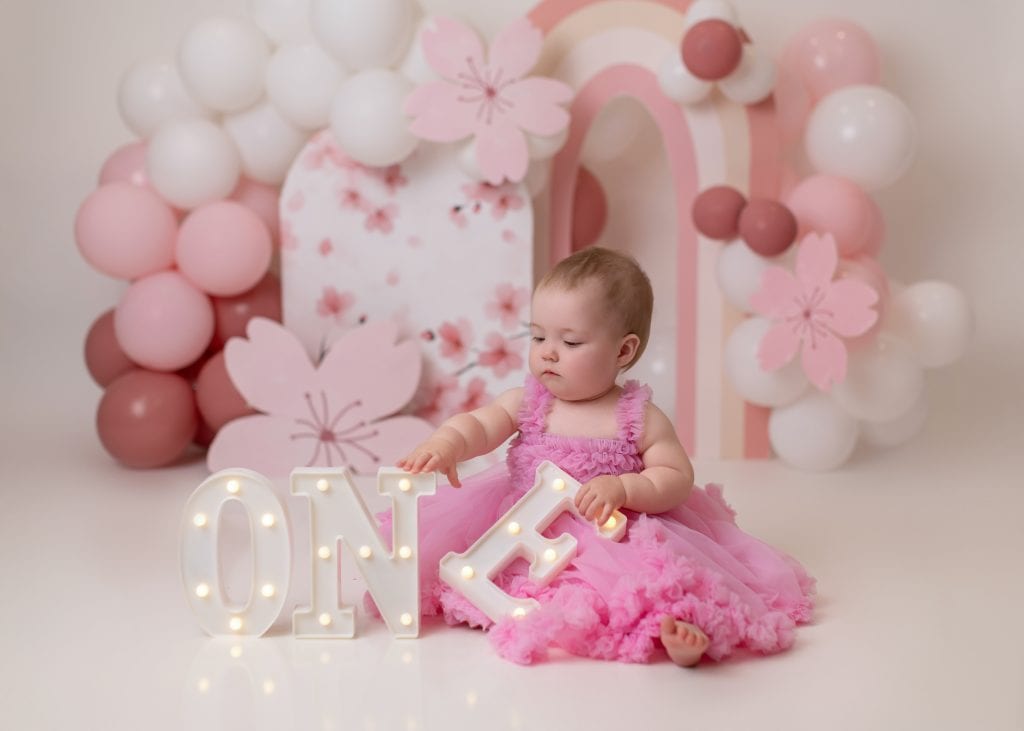
Often, when you have a theme in mind, the colour choice becomes clear. For example, a cherry blossom inspired theme naturally leans toward soft pinks and whites. For a lion-in-the-forest theme, both yellow and green can work; but one should be chosen as the main colour, while the other becomes an accent.
This balance keeps the design visually strong without overwhelming the baby or the photograph.
Step 4: Drawing a Draft
Imagination can easily become “too big” or too abstract if we don’t bring it onto paper. Once I have a concept in mind, I always sketch it out so I can actually see it.
Our imagination often feels three-dimensional, but a cake smash setup has to work within a photographic frame. A backdrop is ultimately two-dimensional on a flat surface, and even real props need to be planned in a way that reads clearly in a photograph.
At the end of the day, we’re photographing your baby, and we want your baby to be the main character in the story. No matter how detailed or beautiful the background is, your baby will sit in front of it, and that’s where the focus should stay.
When I sketch, I draw the main elements such as characters, shapes, props, and major decorations, and then play with their arrangement. This process helps translate a big idea into something that works visually. Sometimes the draft immediately shows what’s missing or what’s too crowded. At the same time, the sketch allows me to consider where the light source will come from, so the design remains visually simple while still appearing dimensional in the final image.
Another benefit of sketching is that it reveals complexity instantly. If an idea feels difficult to draw, it’s usually a sign that it may be challenging or distracting to build in real life. A draft helps simplify the concept while preserving its meaning.
This step is also very important for parents, because it helps visualize everything clearly. A sketch creates a shared reference point, reduces misunderstandings, and allows parents to suggest small changes or add personal touches that make the theme even more meaningful.
Step 5: Bringing the Draft to Life
Once the draft is complete, the next step is figuring out how to bring it to life in a way that is safe, durable, and camera-friendly.
This is exactly why Step 4 matters so much. When the design is clear in two dimensions, it becomes much easier to decide what should be part of the background, what should be a real prop, and what should be simplified so it photographs cleanly without becoming distracting.
For example, imagine wanting a cartoon cat sleeping on a prop. On paper, it’s easy to draw. In real life, creating a three-dimensional version cat that looks right, stays stable, and photographs well can be surprisingly challenging. Sometimes the better solution is to turn that element into an illustration or a clean cutout on the backdrop.
This step involves decisions such as:
- Which elements should be illustrated on the backdrop
- Which elements should be real props and where they should be placed
- How to keep the setup stable and safe for a baby
- How to balance visual interest while keeping the baby as the focus
- Whether the theme needs to be simplified for better photographic results
Going back and forth between drafting and building is completely normal in my workflow. This process of refining and adjusting is what turns a customized cake smash theme into something both meaningful and successful in the final images.
Final Thoughts
A fully customized cake smash theme isn’t about creating the most elaborate setup or following trends. It’s about paying attention to the small details that make your baby your baby the things they love, the comforts they reach for, and the moments that feel ordinary now but will one day feel precious.
When inspiration is thoughtfully translated, refined, sketched, and brought to life with intention, the result becomes more than a photoshoot. It becomes a visual story of who your baby is at this moment in time: a story you’ll be able to look back on long after the cake is gone. If you need help on preparing your cakesmash photoshoot, contact me and we can discuss the potential plan.
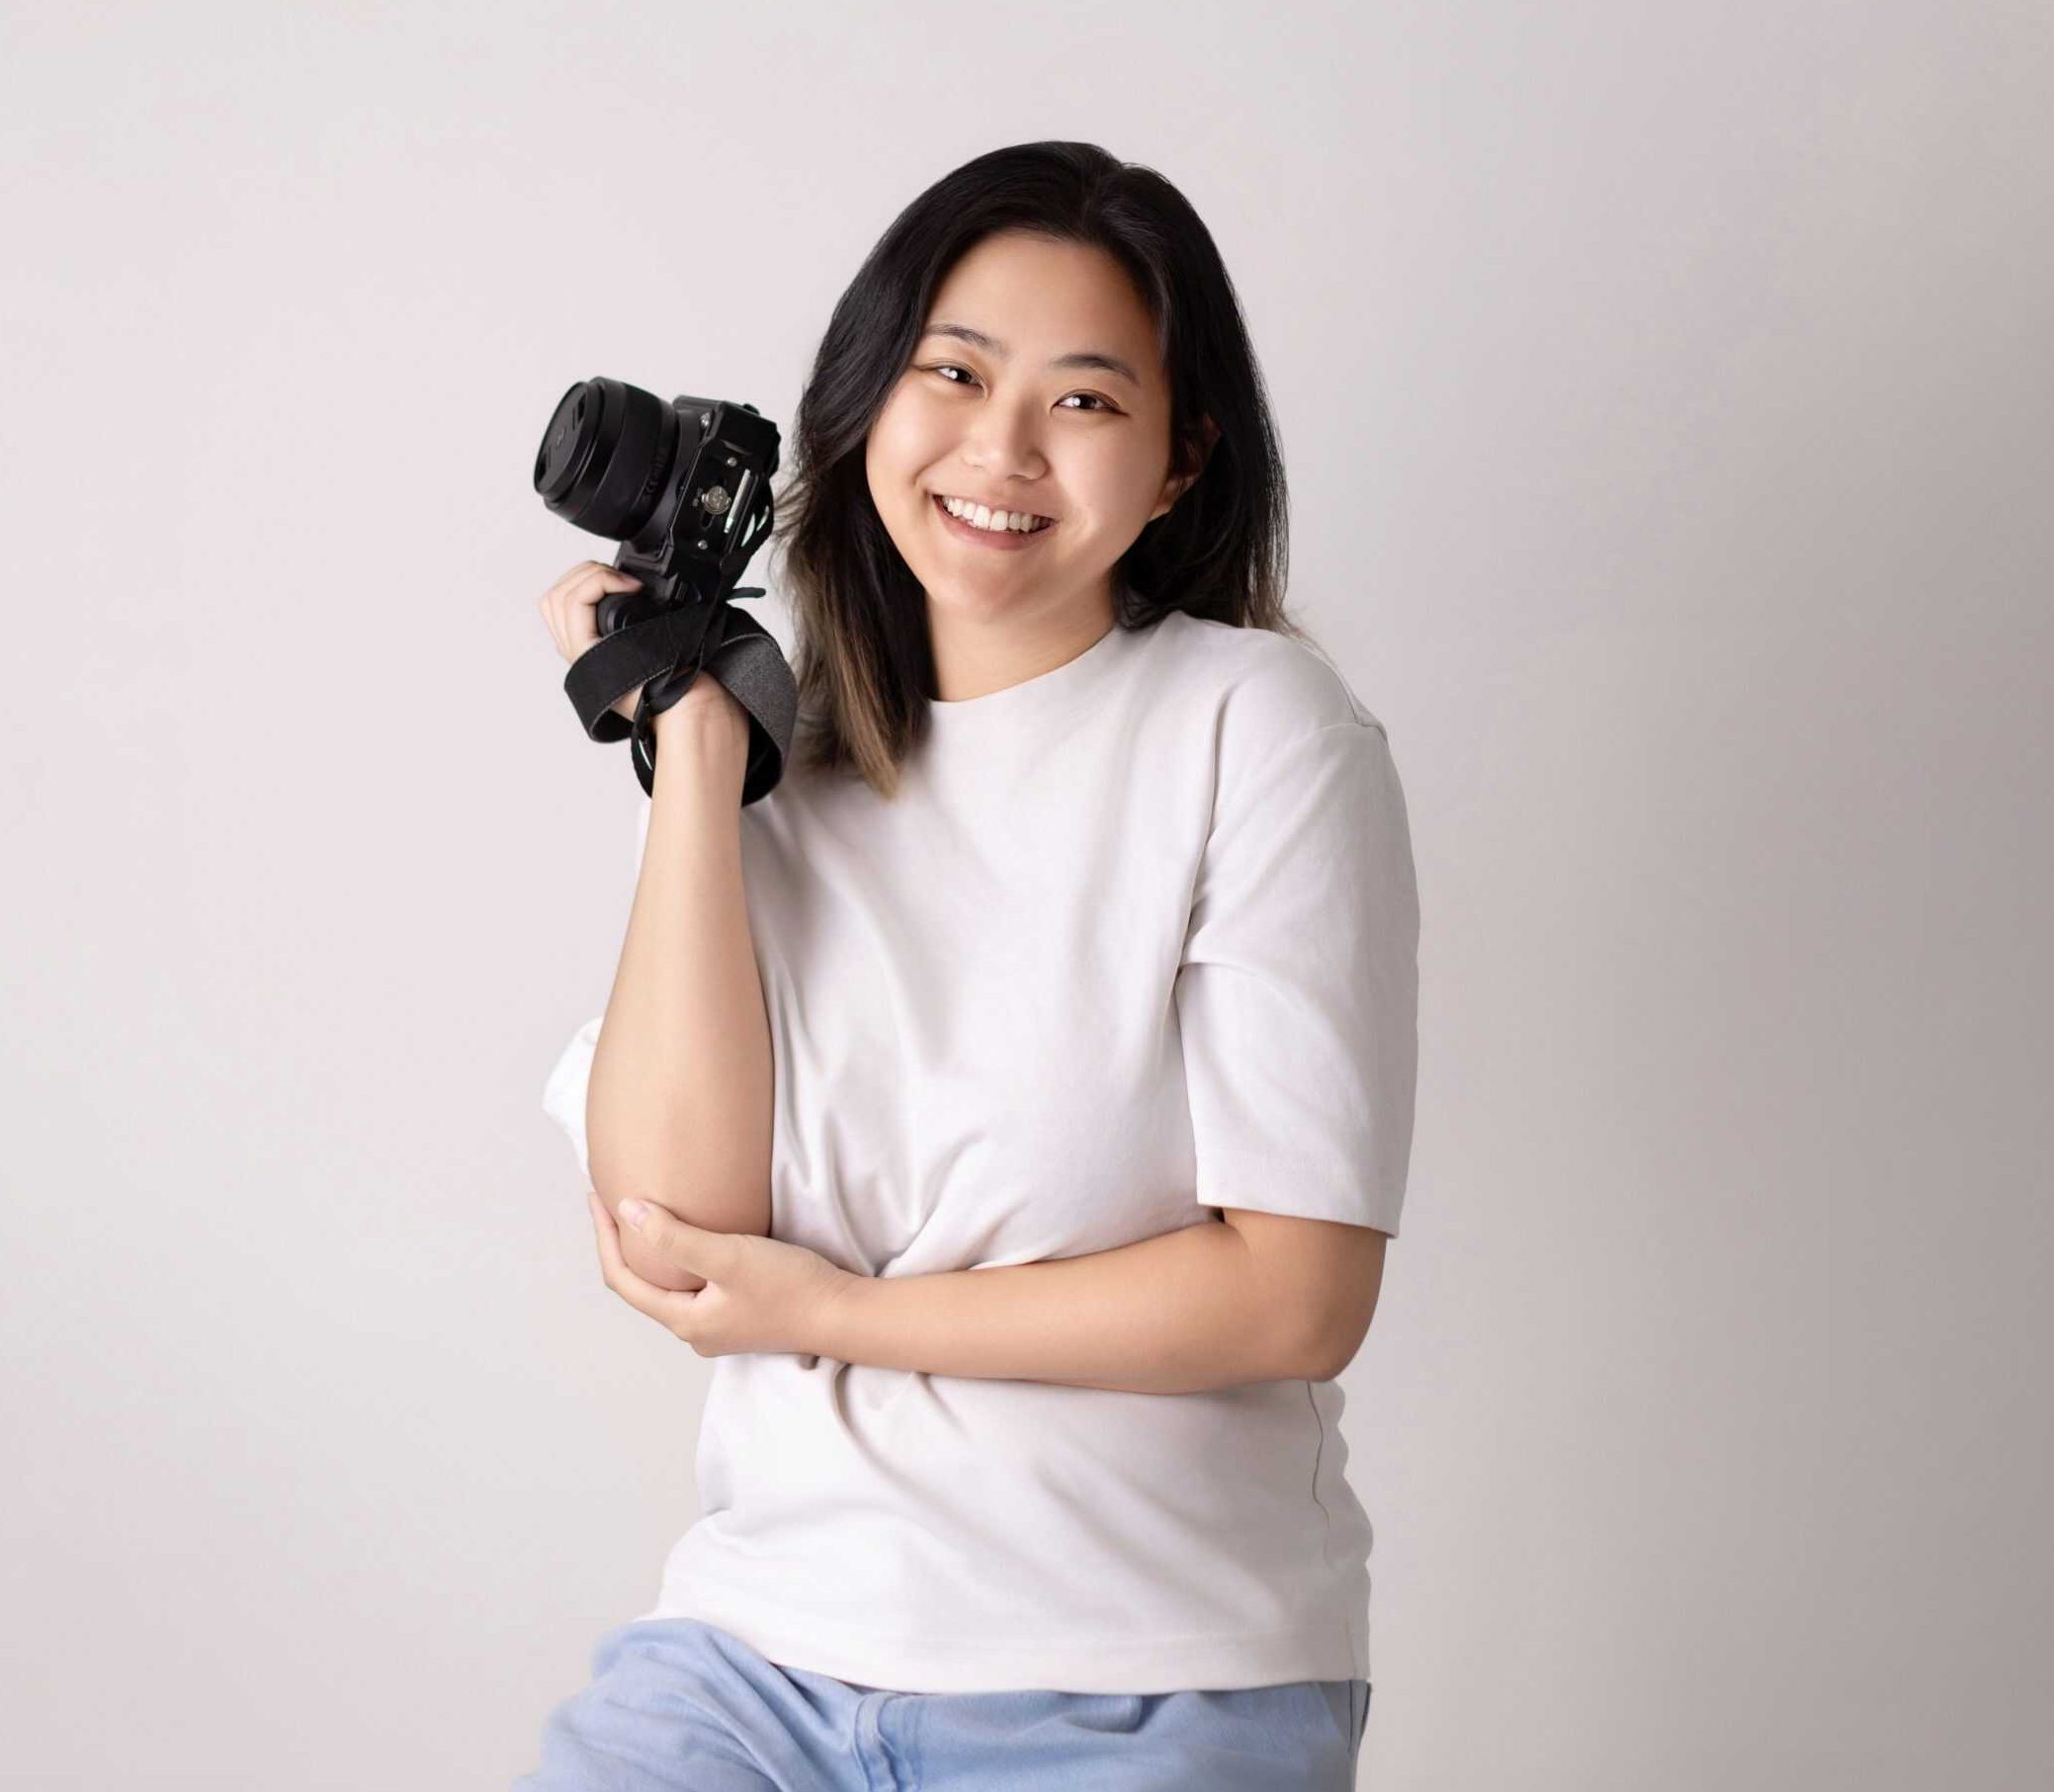
Samantha, the visionary behind Little One Photography, is a passionate photographer with a special gift for capturing the essence of newborns and families. As an awarded newborn photographer, she has honed her craft to create timeless, emotive portraits that families cherish for generations. Samantha’s warm personality and patient approach put even the tiniest clients at ease, allowing her to capture genuine moments of connection and love.